Templates/Forms
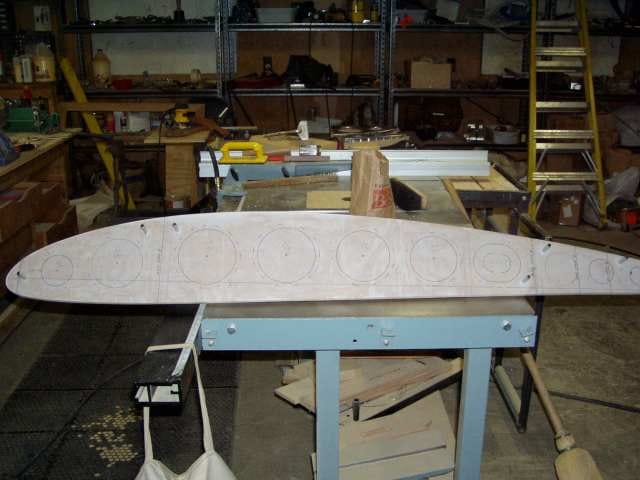
I started out by making a master template. I cut out wing drawing #7 and glued it to to a piece of 1/2" medium density fiberboard. I cut this out to 1/4" of the drawing on my bandsaw and then final sanded to the edge of the drawing using a belt sander. Then using a drill press, I drilled the jig pin holes to 5/16" and bushed to 1/4" using steel brake line. I made these 3" long to minimize bit movement in the bushing. I drilled 1/8" holes to locate the centers of the lightening holes, and then used the 1/8" drill bit to transfer these locations to the form blocks and templates.
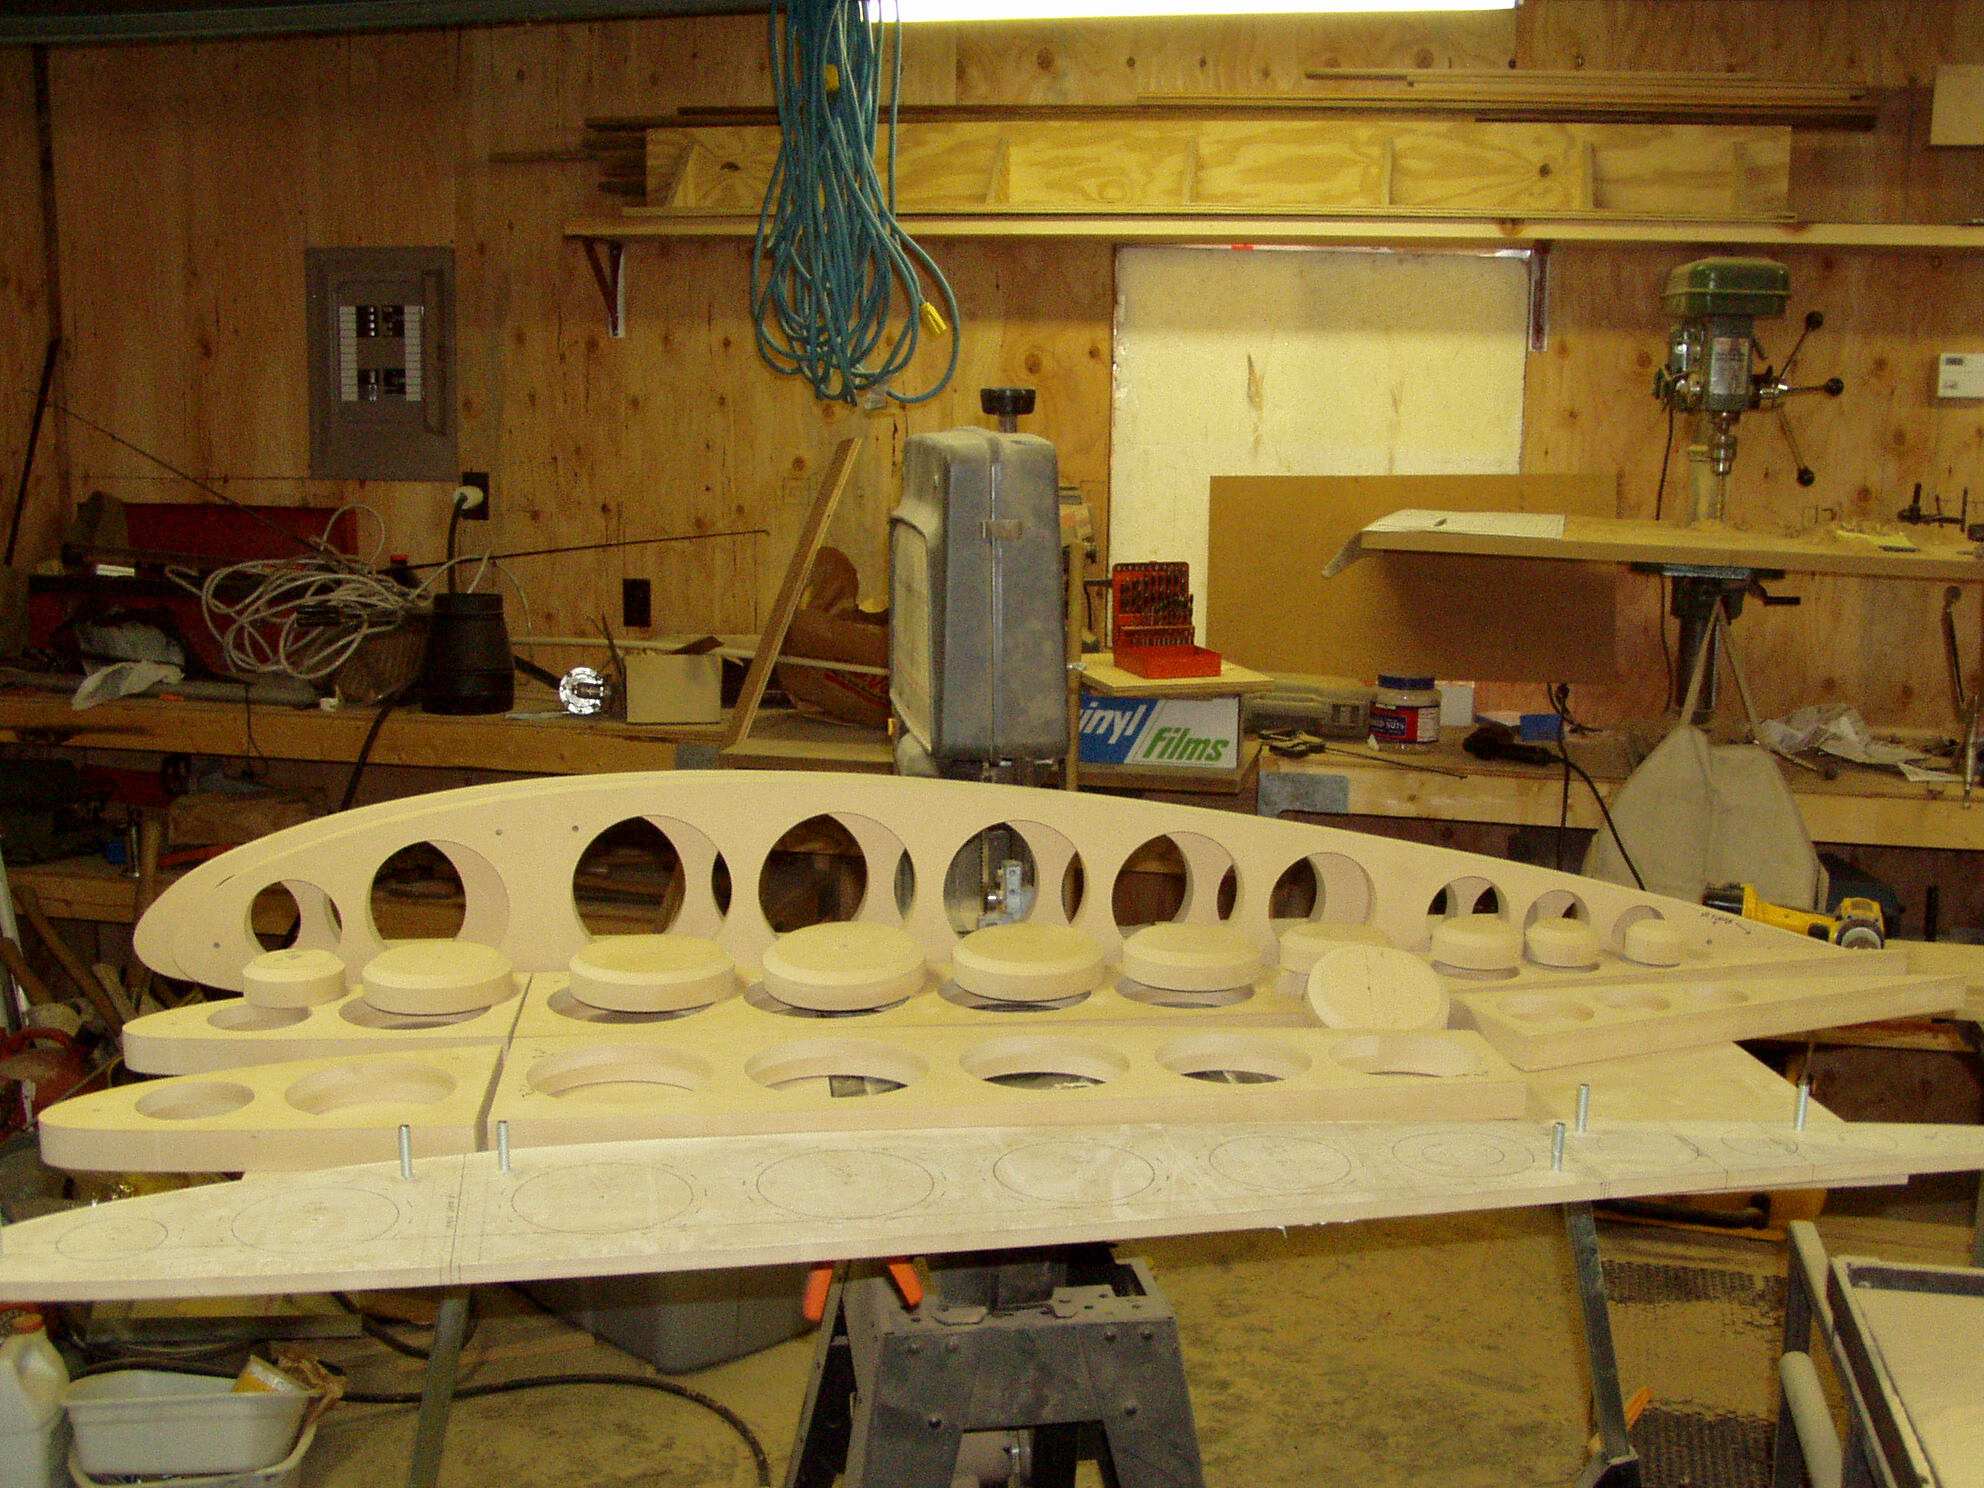
Next I made routing templates. The routing templates are made larger than the master template by an amount equal to the required flange width. Cut out templates on the bandsaw to within 1/4" of the line and final sand to the line. On the nose templates, I bolted the master template to the routing template. Then I routed the nose part that doesn't have a flange using a flush trim router bit. You won't need to drill relief holes where the flange and the nose part meet because the router bit leaves a nice radius. You will need a flycutter to cut the lightening holes out. I found one at Woodworkers Supply that was very high quality. Cut the lightning holes to the diameter indicated on the plans. Without regard to scale, measure the lightning hole diameter on the plans and use this measurement as your radius on the fly cutter. This will give you the correct diameter as the plans were drawn to 1/2" scale.
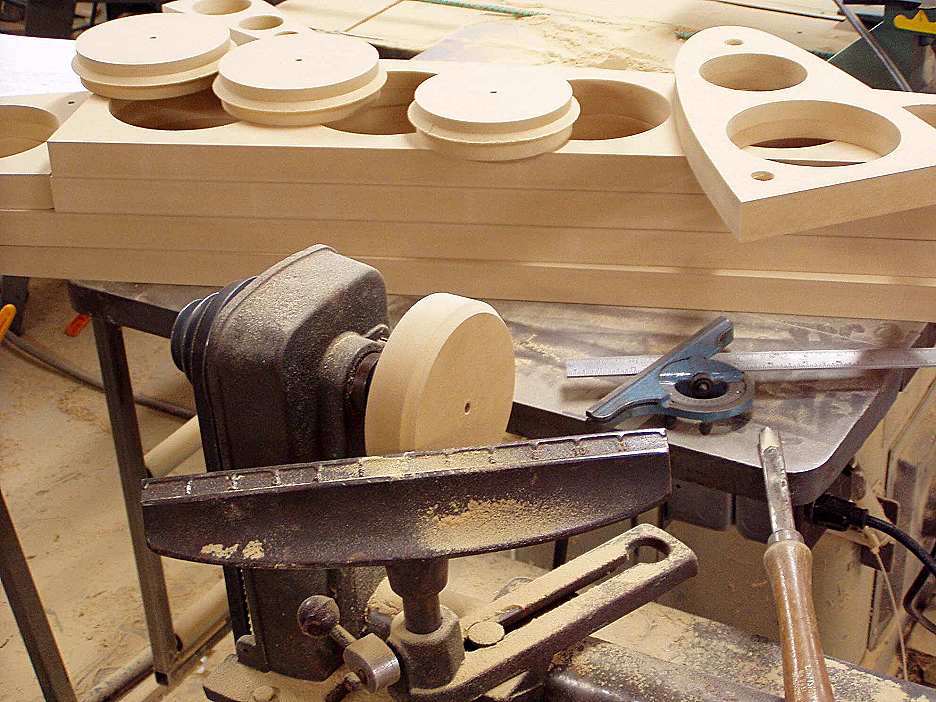
Lightening hole flanging plugs were made on my lathe to the same diameter as the lightning holes in the forming blocks. MDF was used for this also. A 400 bevel was cut on the edge of the plugs to allow for spring back to a 300 flange. For the oblong hole in the center ribs, after turning, I cut the plug in half and glued the appropriate amount between the two halves. I then doweled through in two places to give it strength. Using biscuits to join it back together would have been easier.