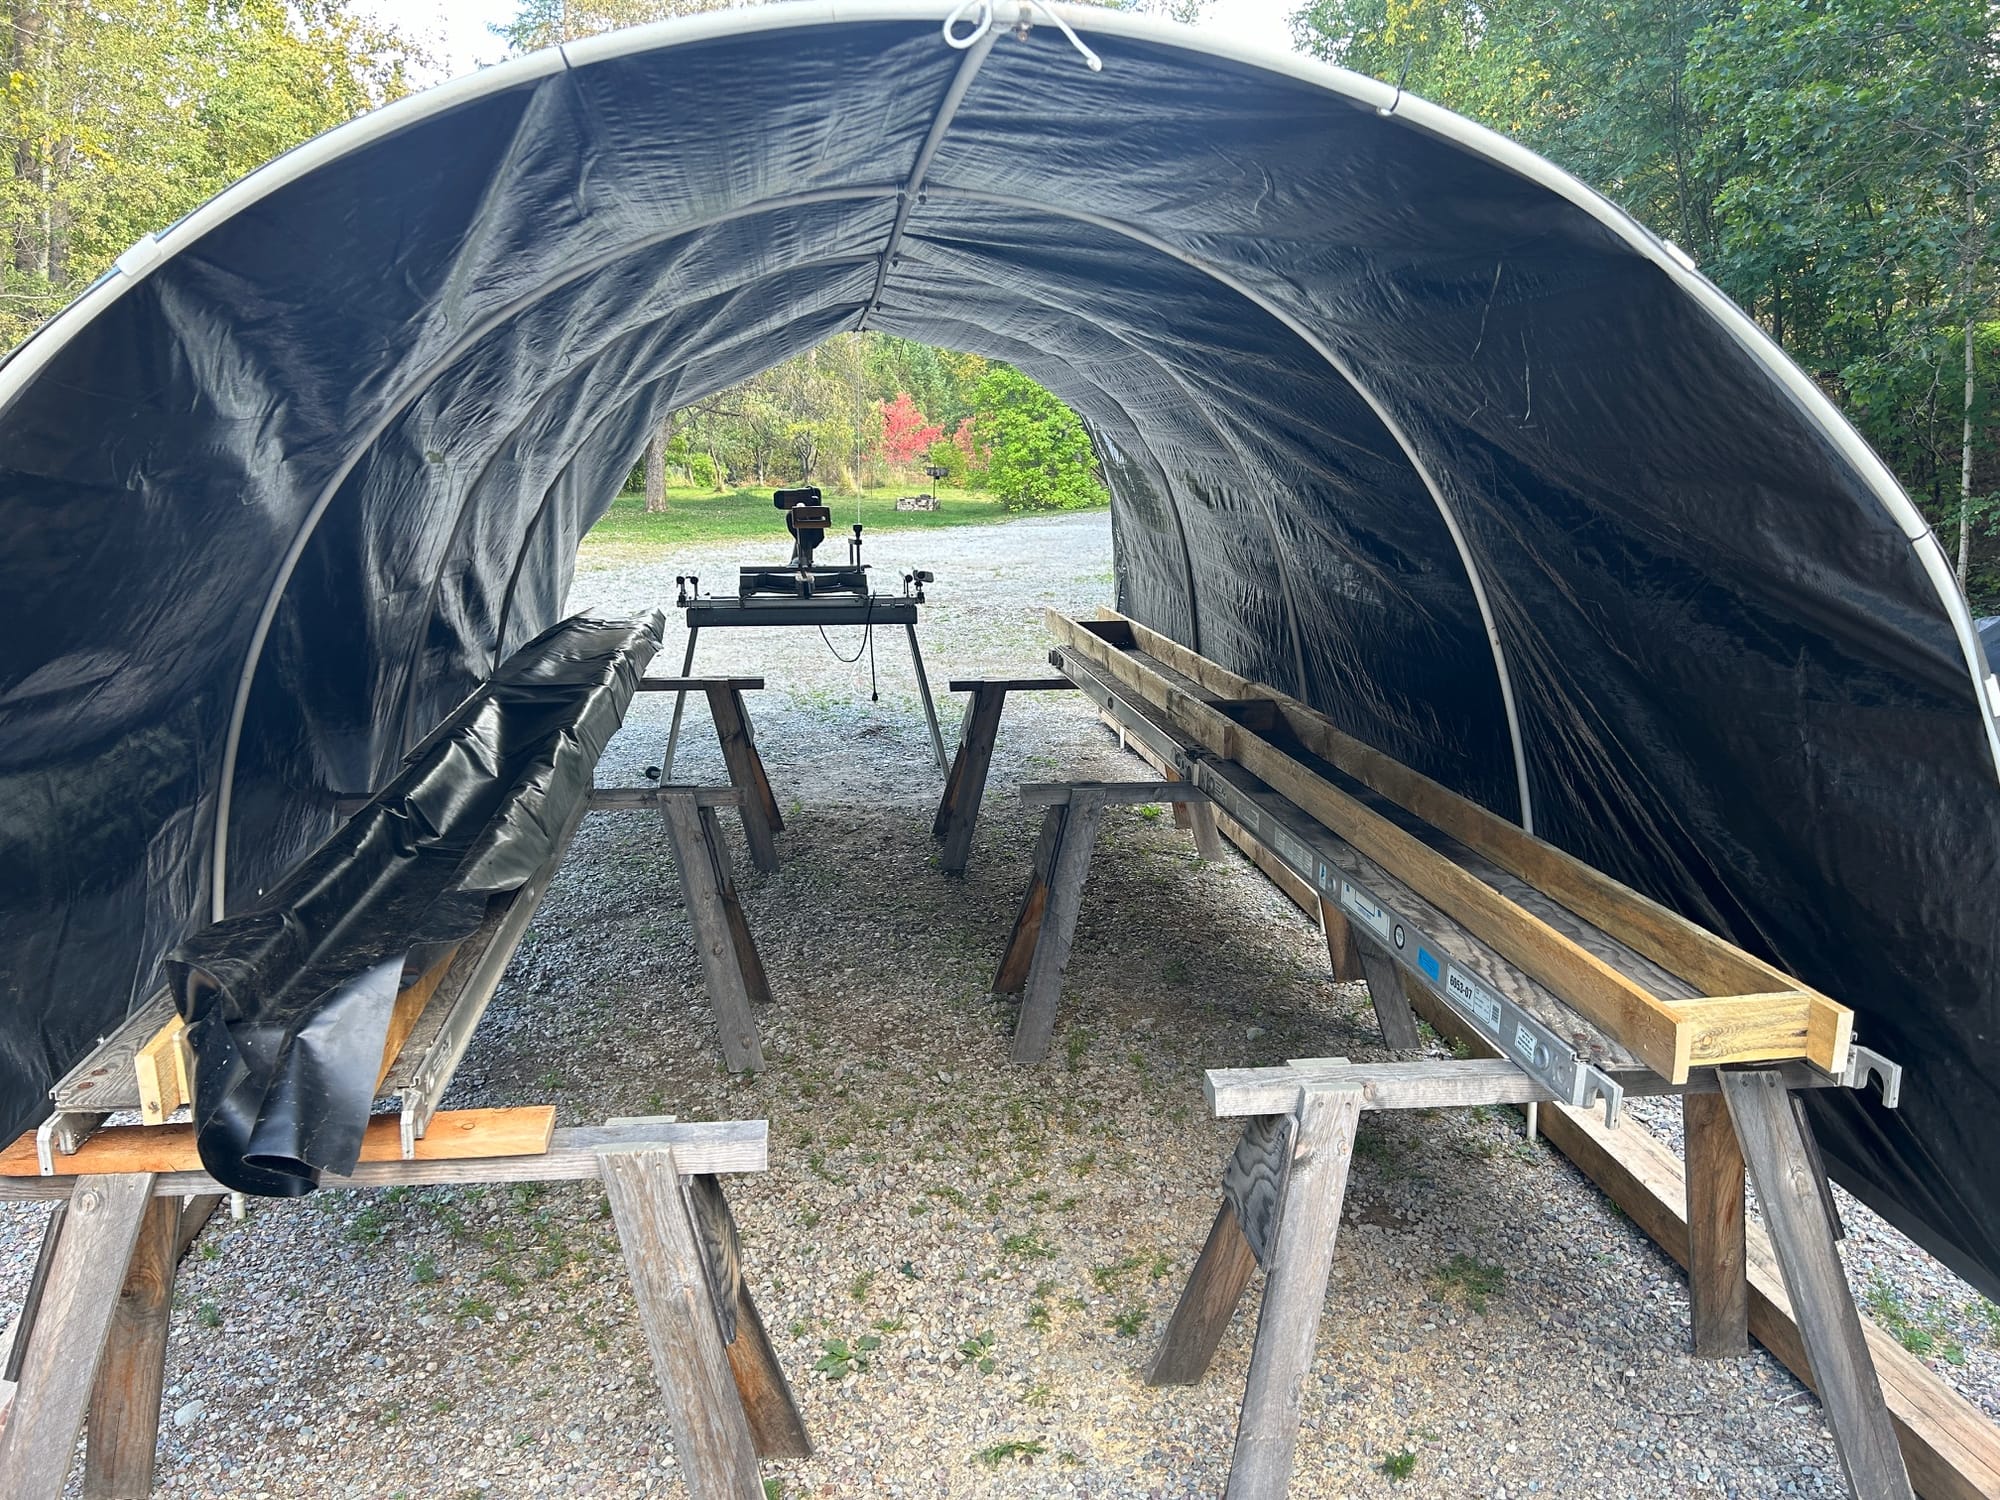
Spars
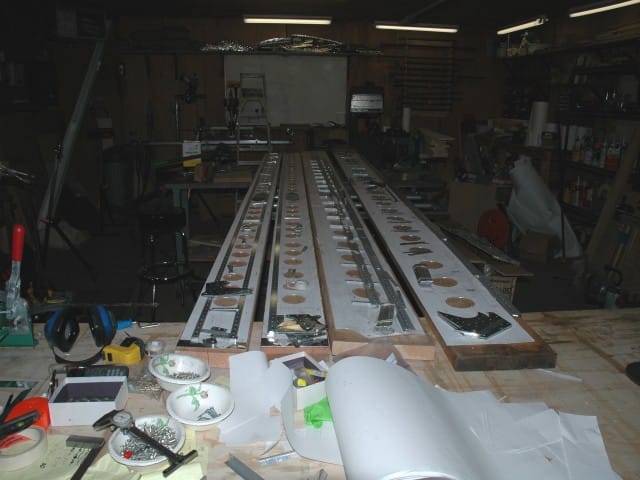
I tried a little different approach to drilling the spar blanks and all associated pieces. I glued a full size drawing of the spar to the spar blanks, clamped the spar blanks on top of a 14' 2x12 'sled', and cut the lightening holes with a flycutter. I then stacked all of the capstrips, spacers, attach fittings, and attach angles on the rear side of the spar blanks. I kept everything lined up by clamping pieces of 1/2" MDF along side and in between all of the pieces, and then kept everything secure using a whole lot of clamps. I won't bend the flanges until after all of the holes are drilled and deburred. I placed the whole setup on my Grizzly radial drill press and supported the 'sled' with roller stands. This radial drill press has a 45" reach and will allow me to drill a lot of holes before repositioning the 'sled'. I will need to accurately mark everything as to its proper position. The reason I want to try it this way is there will be a lot less room for error on layout due to needing 'reading glasses' now and the possibility of contracting the dreaded disease 'oneinchitis'. 'oneinchitis' is the phenomena whereas after carefully measuring everything at least twice, it still ends up being exactly one inch off. No one can explain this phenomena, nor is there a cure. Besides, I think this will save me a tremendous amount of time and frustration laying out and trying to keep everything in place. Update! This method works very well. This drill press works well, but you could use a regular drill press. The reach on a regular drill press would not be enough to reach all the way across the spar, but you could turn the board around and reach both sides.
MAIN SPAR
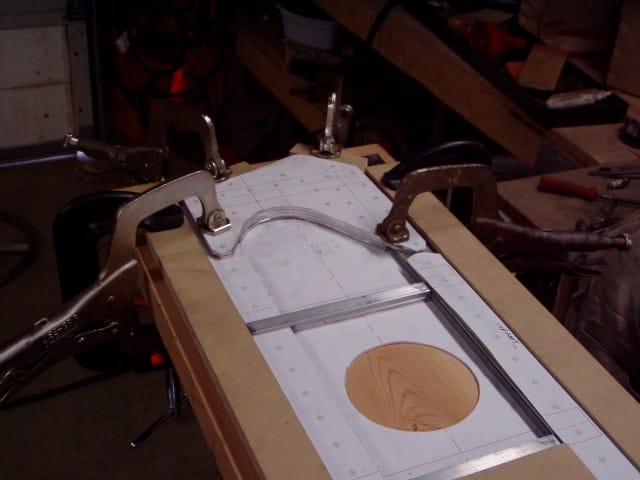
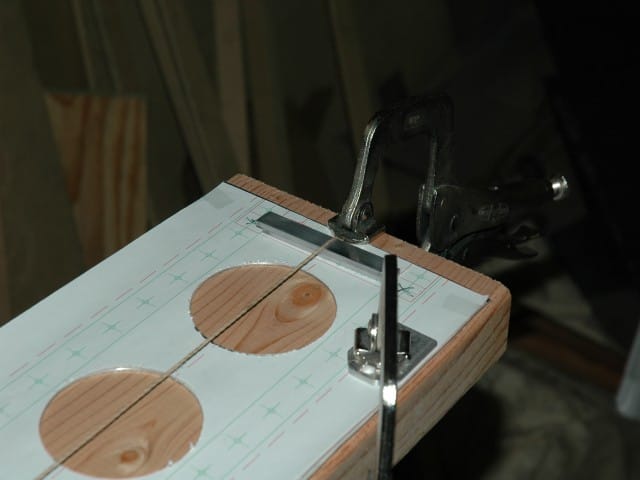
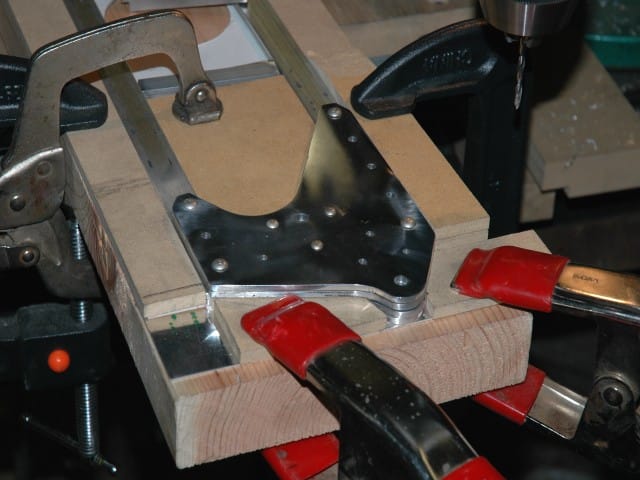
I cut a lightening hole in a piece of MDF slightly larger than required and clamped it to the spar blank. This kept the blank secure and prevented chips from getting between the paper and the blank. I kept everything plumb and tight by clamping strips of MDF outside of the capstrips

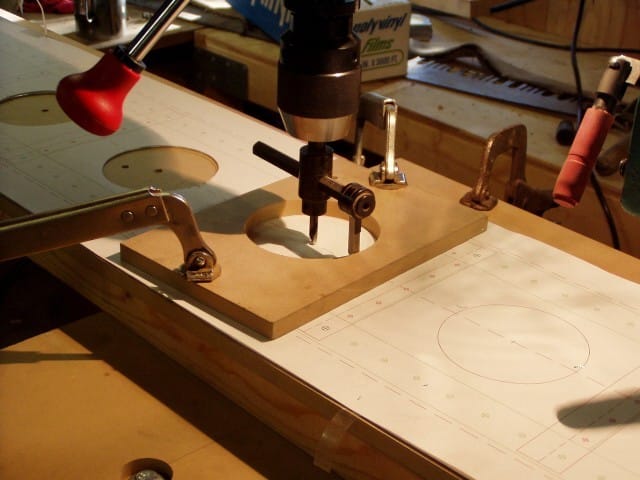
MDF outside and in between the capstrips. I will bend the attach angles after drilling. I clamped MDF on both sides of the spacer bars, and then placed the attach angles on top and match drilled through everything.
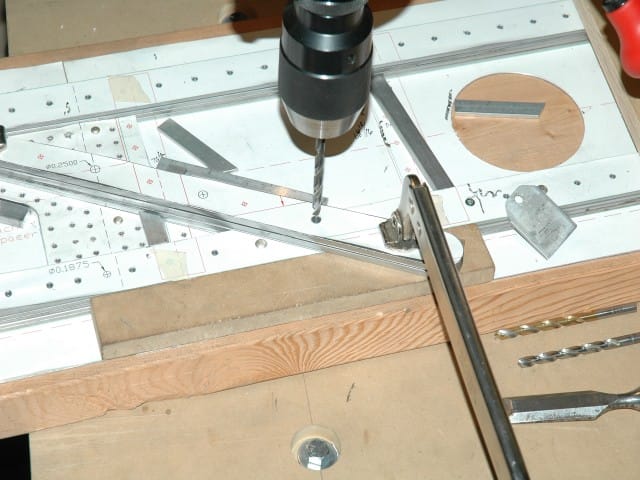
I placed the 4130 attach bars on top of everything and match drilled 1/64" undersized. To finish the 1/4" holes I used a chucking reamer turning at about 900 rpm.
REAR SPAR CONSTRUCTION
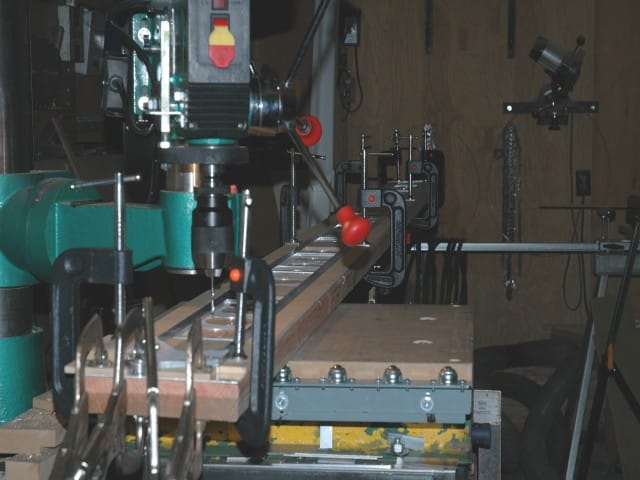
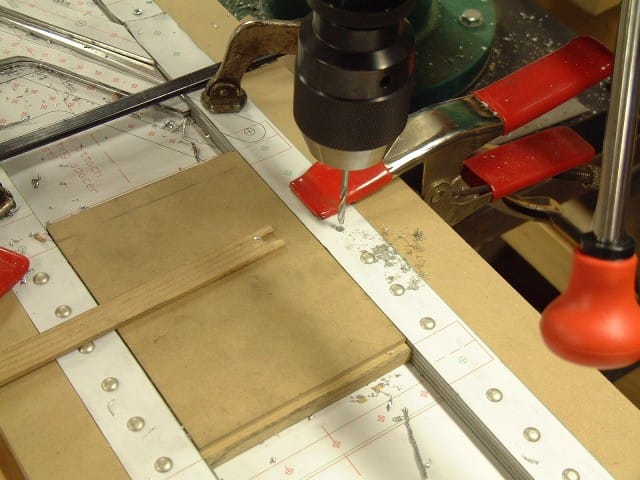
I used a string line spaced off the spar blank to make sure the spar blank centerline was straight. For the rear spars, I used the same drilling technique, except I used a 14' 2x8 for the 'sled. Prior to starting the rear spars, I attached some ball roller bearings to the drill press which allowed me to move the sled easier. I found it easier and faster to move the sled than to reposition the drill press head.
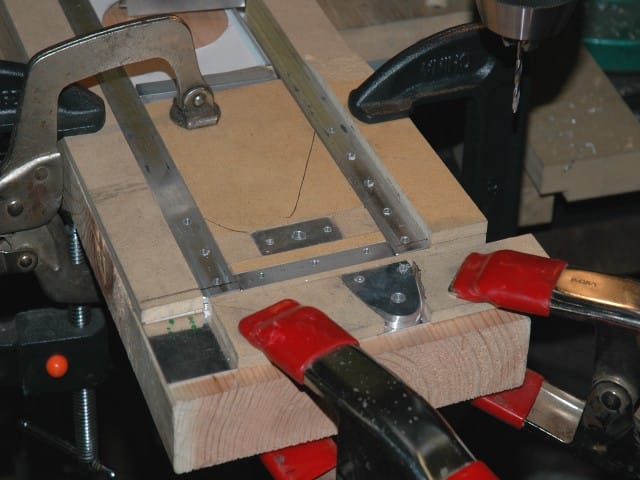
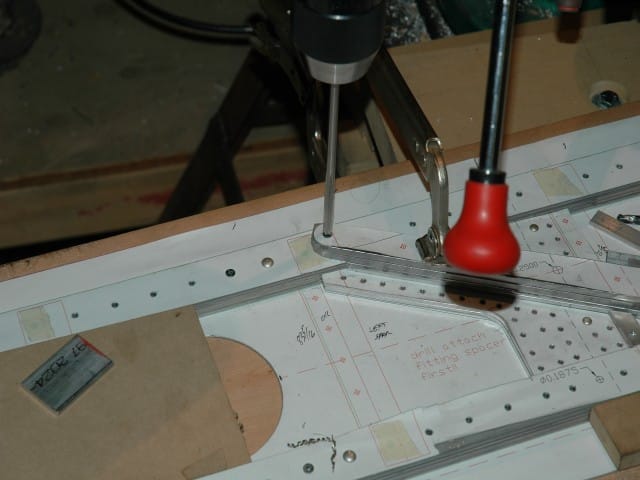
To keep all of the attach plate spacers in place, I wedged everything in it's proper place with pieces of 1/4" MDF. Then I placed the spar attach plates on top of everything and match drilled.
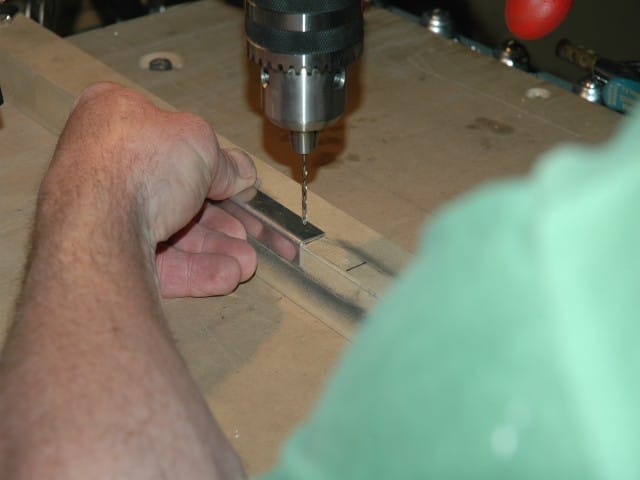
I wanted to pre drill the attach angle to rib holes so I wouldn't have to do any layout while assembling the ribs to the angles. I used a 3/32 drill bit and will match drill with the #40 bit when the time comes. Drilled and deburred main and rear spars prior to bending the flanges