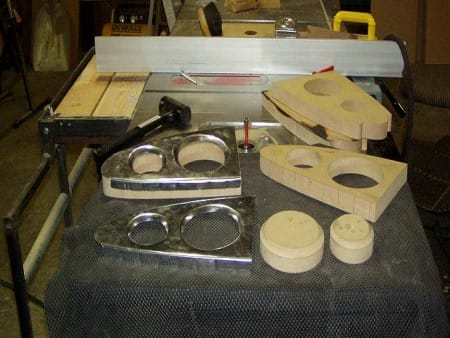
Nose Ribs
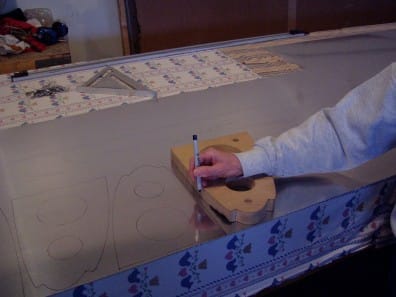
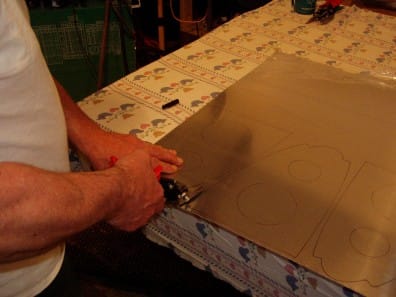
I placed one of the routing templates on the sheet aluminum, drilled 1/4" holes at the jig pin locations, traced around with an ultra fine sharpie, and then used aviation snips to cut out the blank. Originally I planned to cut the blanks out using a plasma cutter, but it leaves a little bit of slag and the blanks didn't stack together very well without grinding off the slag. Cut to within 1/4" of the line.
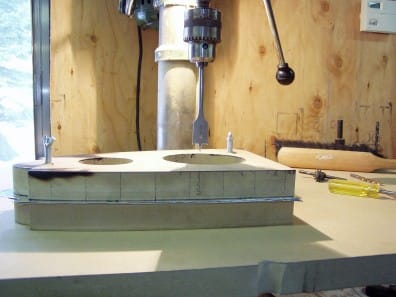
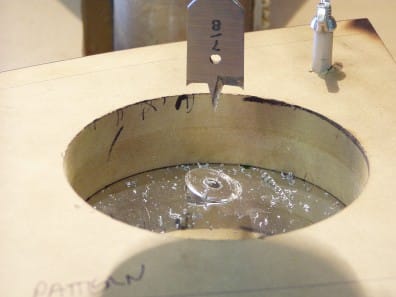
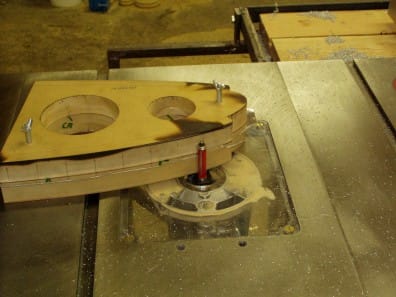
Sandwich five or so blanks between the two routing templates and bolt together through the jig pin holes. Drill a 1" hole through each lightening hole using a spade bit. This is so you can get the router bit in. Use a bit with the "ears", not a flat bit. Don't hog the bit through, but cut through one blank at a time and remove each disc as you go through.
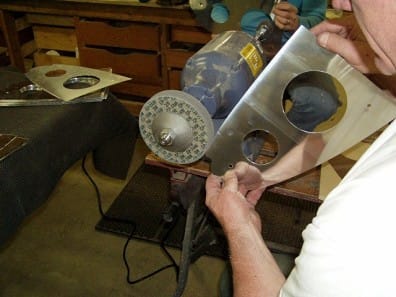
Remove blanks from routing templates and debur and polish all holes and edges. I used a deburring tool for the drilled holes, and scotchbrite wheels to polish the edges and lightening holes.

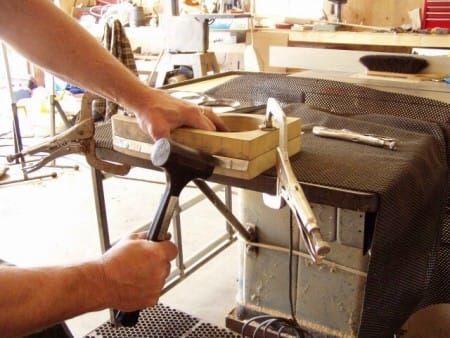
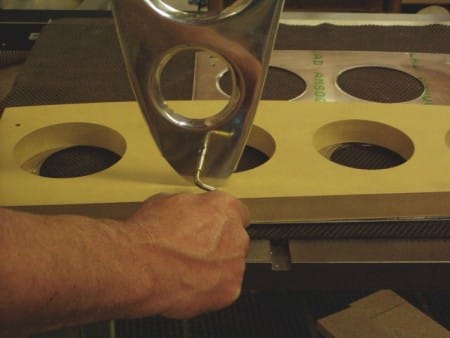
After deburring, place a blank between two form blocks and bolt together through the jig pin holes. The black marks on the form blocks are rivet locations. Prior to bending the flanges, lightly flute between the rivet locations so you will know where to flute after bending the flanges. Carefully bend over the edge flanges. Take your time working back and forth about three times. It helps to press down with your thumb as you go.
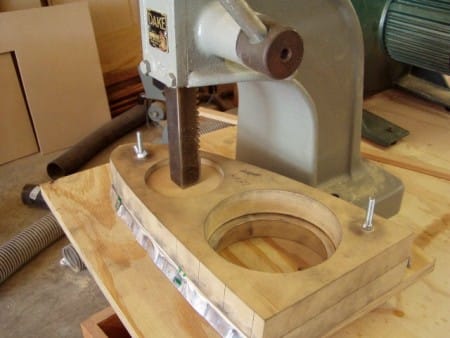
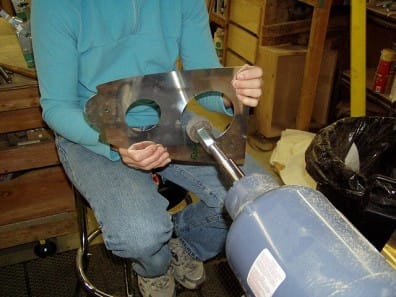
After bending the flanges, I used an arbor press to press in the lightening hole flanges. This picture shows the distortion caused by bending the rib flange and pressing in the lightening hole flanges.
To flatten out the rib lengthwise, you will need to use fluting pliers and flute between each rivet location. On the top front curve of the rib, you will have to put two flutes close together between the first and second rivet location. To flatten out the rib vertically, you will need to relieve the stress at the front and rear of the holes. Turn the rib upside down, and using the "Bobstick", lift up and bend the flange a little more. I go into more detail on this in the center rib section.
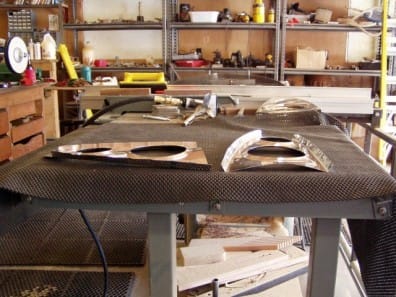
This is what they will look like after fluting and "Bobsticking". Finally after four tries, a "keeper"
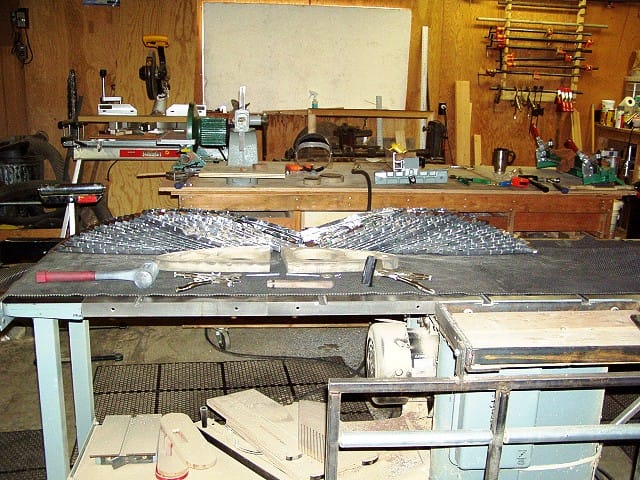
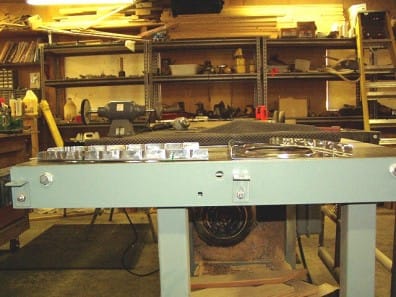
46 wing nose ribs ready for alodine and primer.