Control Brackets
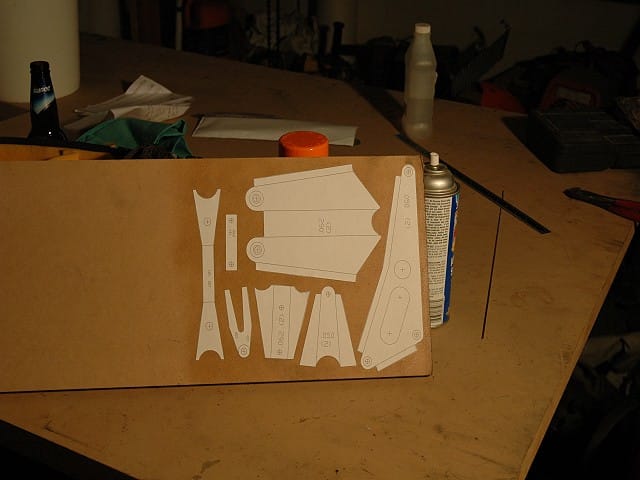
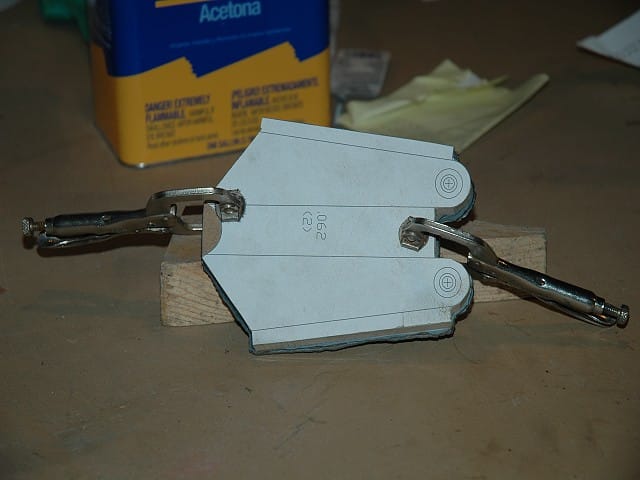
I drew the pieces for the controls full size in auto cadd, glued the templates to 1/2" MDF, and cutout on the bandsaw. I started with the control stick standoffs and cut the sheet steel close with a plasma cutter and then clamped to the grinding template
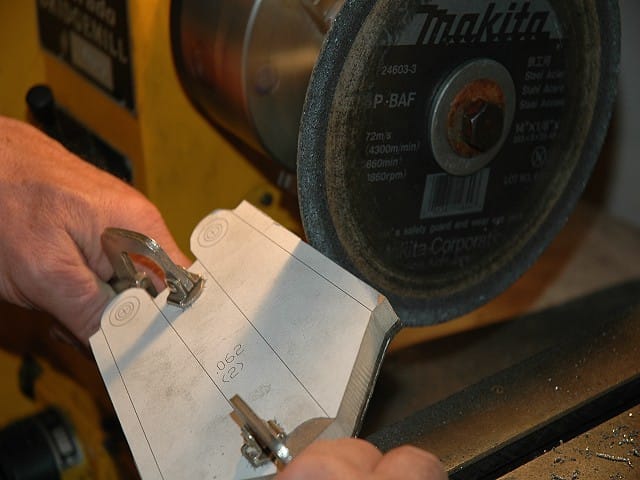
I made a 1" arbor that would fit left over cutoff grinding discs and mounted in my metal lathe. I also have a cutoff disc mounted on a bench grinder. Ground it close and then deburred and smoothed the edges up with a scotchbrite wheel. The first standoff I bent into a u shape using the 3/4" bending anvil I made for the wing steel pieces. This worked ok, but does leave some hammer marks. For the second standoff, I made a press die to use in my hydraulic press. This worked ok also, but because of springback, you still have to do some adjusting with a hammer. I guess I liked the way the hydraulic one looks better, but I'm not sure the extra time spent making the press die is justified. I drilled the 1/4" hole after bending to make sure the holes lined up.
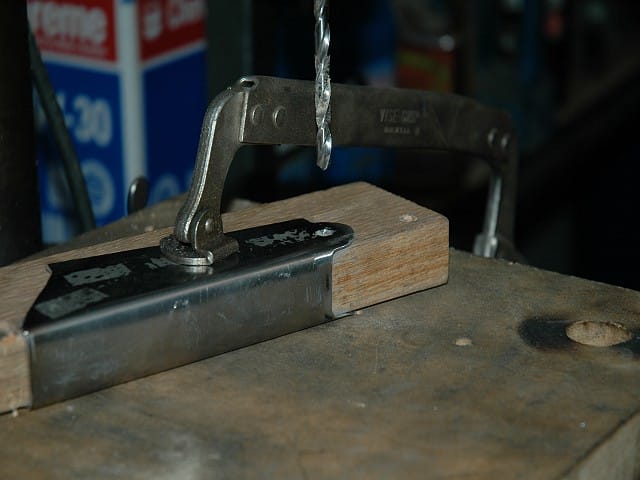
To bend the stiffener flanges, I ground a radius on my welding table and clamped the standoff to the table. The flange bent fairly easily with a 2lb ballpeen hammer
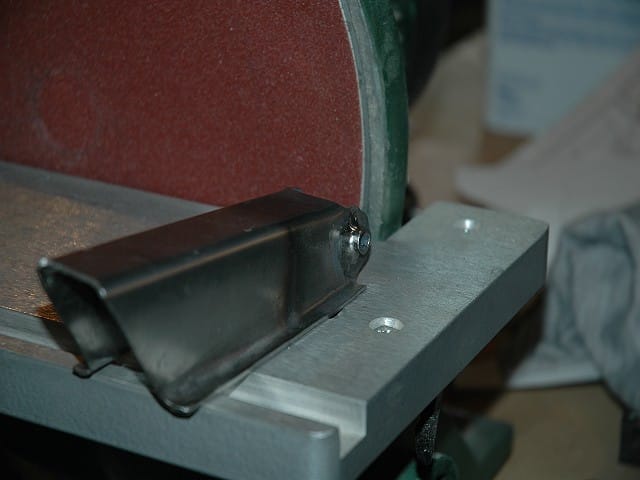
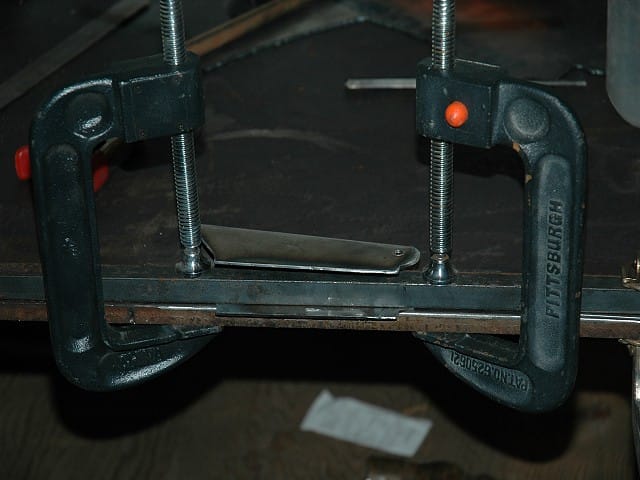
A 1/4" bolt to hold the bushings and washers in place for welding. I left the bushings long to facilitate welding. They sand to length easily after welding with the 12" disc sander. Completed standoff.
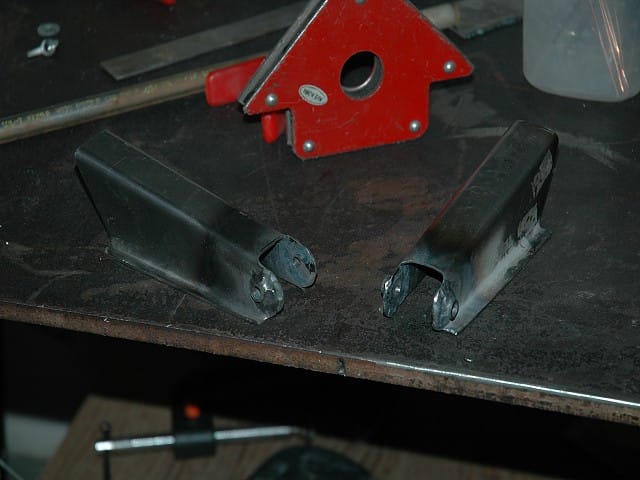
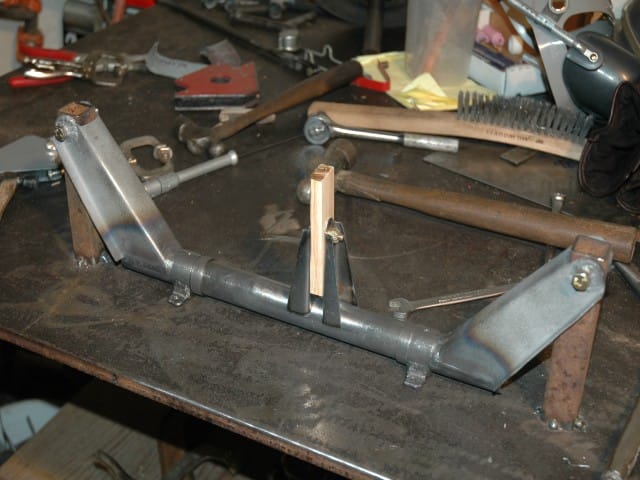
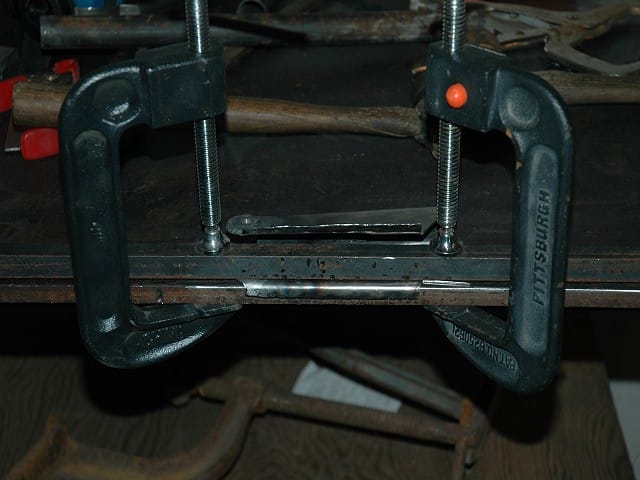
Another view. Both completed standoffs. I am going to make a jig to hold the standoffs in place on the 1-1/8" tube. I will scribe and grind the radius where it gets welded at that time.

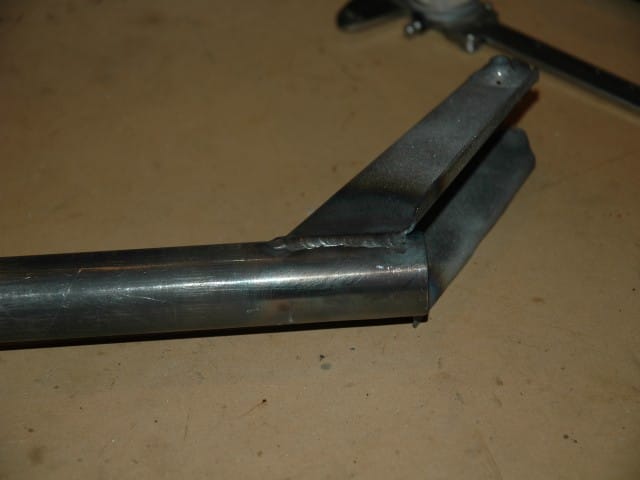
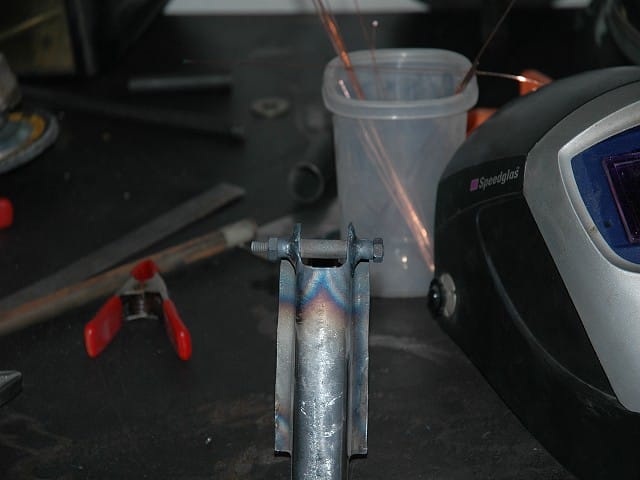
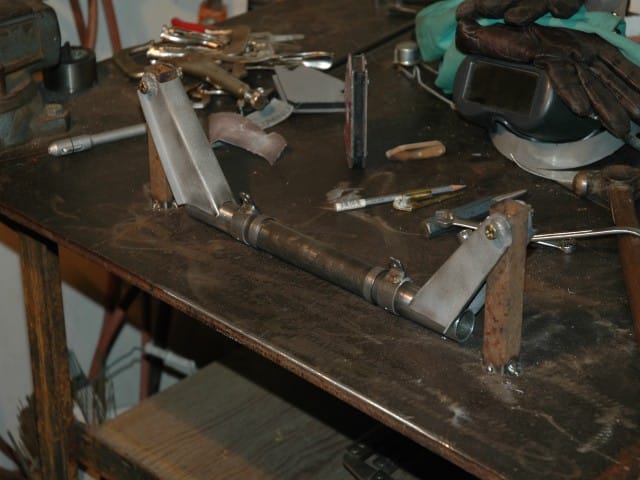
Control assembly brackets in jig for welding. Brackets welded out