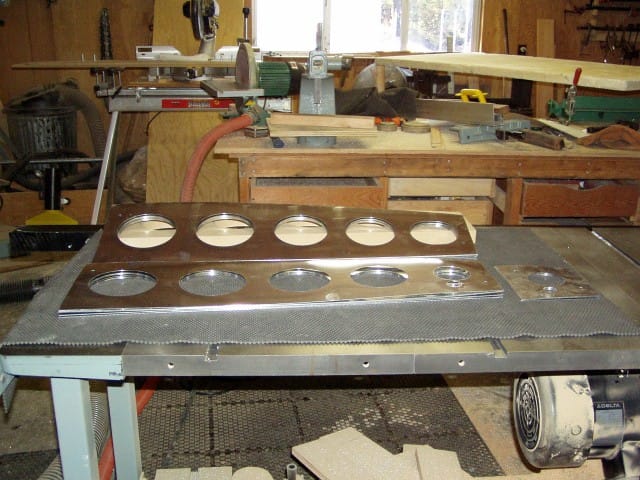
Center Ribs
The center ribs were made the same as the nose ribs using routing templates and form blocks. I cut all of the lightening holes using a router with the exception of the rear most round holes on the .032 ribs. I used a flycutter, but wasn't very satisfied with the results. The router leaves a smoother edge and much less of a burr. If I had it to do again, I would make extra routing templates for the round hole as well as the 1" hole for the torque tube. I drilled the 1" hole using a spade bit, but this left quite a burr also.
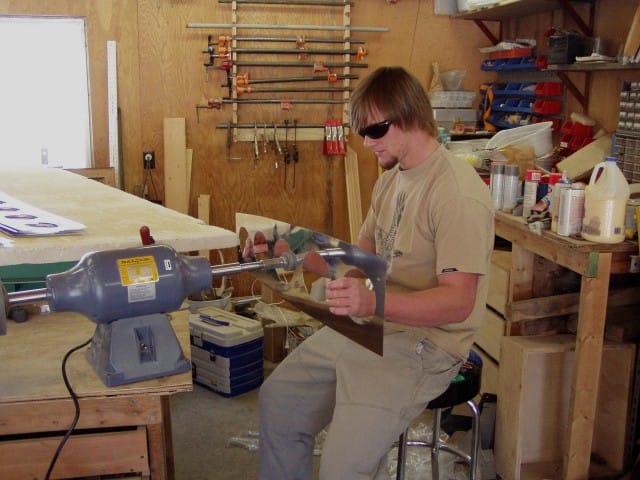

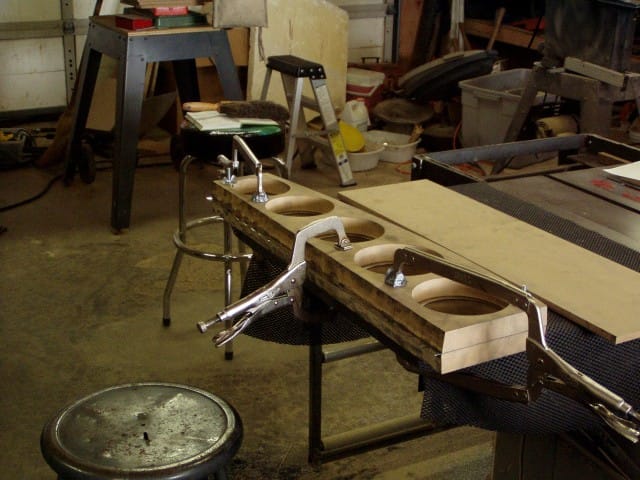
My son Dylan was home for spring break and I was actually able to get him in the shop for a bit. Here he is polishing the lightening holes with a scotchbrite wheel. I used a die grinder with a 1" scotchbrite wheel to polish the 1" holes
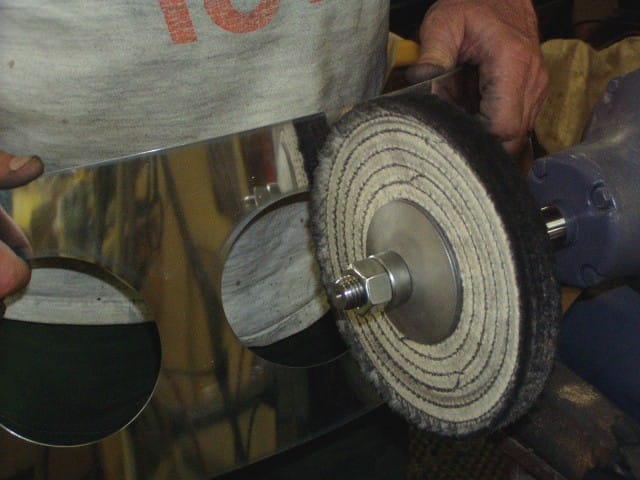

After polishing the lightening holes, I used a buffing wheel to debur the outer edges as well as the edge of the lightening holes. I removed all the scratches at this time also. Deburring 1/4" jig pin hole with deburring tool from Avery
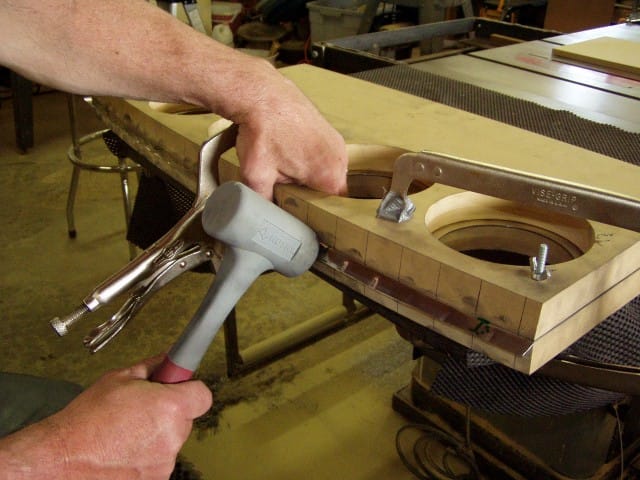
Rather than try to form everything in the full size wing forms, I thought it would be better to have individual forming blocks. Much easier to handle. When bending the outside flange, I found it easier to clamp the form blocks to my table saw, than to clamp in a vise. I was able to sit on a stool and have everything at a comfortable working height
Making the final bend on the outside flange with seaming pliers. The short center ribs behind the fuel tank bay.
The distortion caused by flanging was much greater than on the nose ribs.
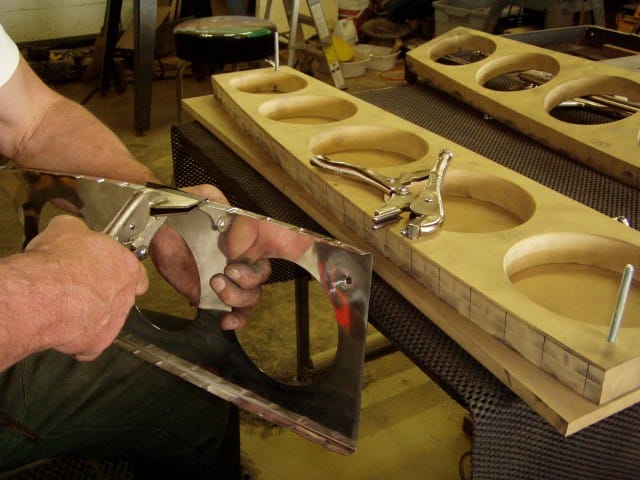
The process for straightening the rib after flanging goes like this:
1. Straighten the flange lengthwise using the fluting pliers. Do both sides.
2. Bend the flanges to a full 90o using seaming pliers.
3. Straighten flanges with fluting pliers again. If you crimp too far with the fluting pliers, straighten the other way by flatening out the flute with the seaming pliers. You may have to do these steps again after straightening the vertical distortion with the "Bobstick"
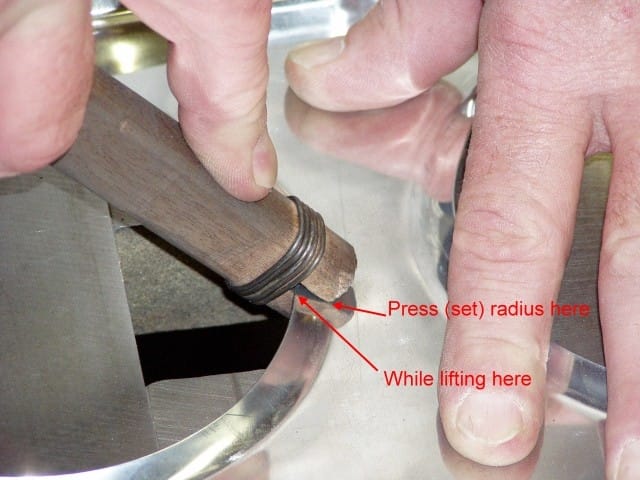
4. To straighten the vertical distortion, I placed the rib, flange side up, over a hole in my table saw top. This was about a 3" square hole. Then slipping the Bobstick on the lightening hole flanges, I pushed down at the bend radius while at the same time lifting the flange a little more. I continued moving each lightening hole over the hole in the table top, and then adjusting. On the nose ribs, I was able to straighten by just bobsticking at the front and rear of the holes. On the center ribs, I had to adjust pretty much all the way around the hole, even near the edge flange. You may have to go back and adjust the edge flanges again. This all took quite awhile. Be patient. After doing a few of these you will recognize just where to adjust to get everything nice and flat.